Learn more
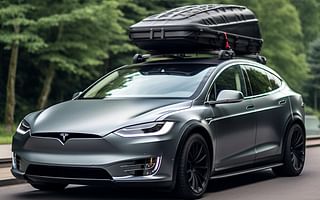


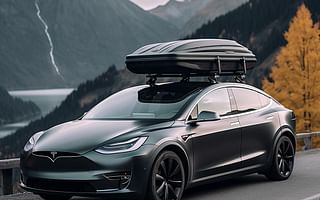
Adding a roof rack to your Tesla not only enhances its aesthetic appeal but also increases its utility. Whether you're planning a cross-country road trip or just need extra storage for your weekend adventures, a roof rack is a valuable addition to your Tesla. Our step-by-step guide above simplifies the process of installing a Tesla roof rack, ensuring you can do it yourself with ease and confidence.
Before you start, it's crucial to understand your Tesla's unique features. Our article on how to operate your Tesla will provide you with a comprehensive understanding of your vehicle's functionalities. This knowledge will come in handy not just for installing a roof rack but for optimizing your overall Tesla experience.
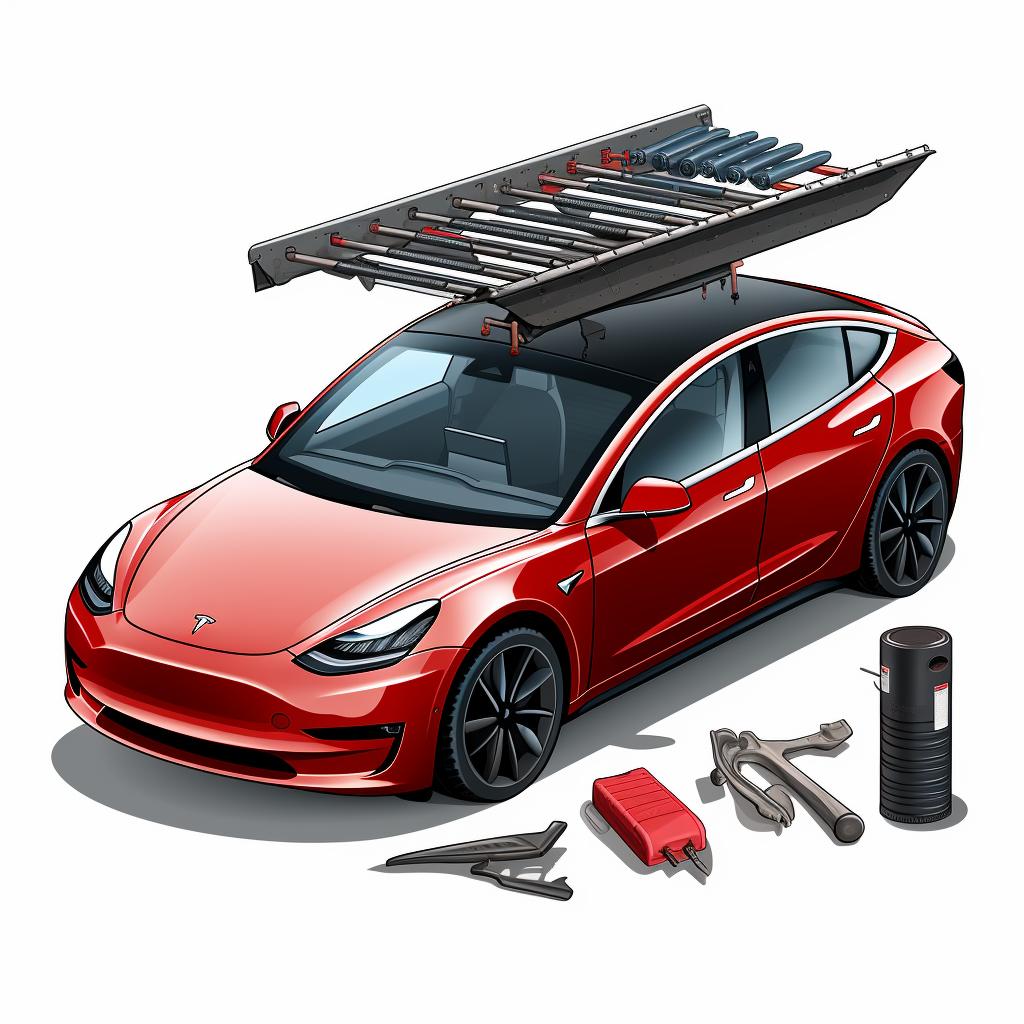
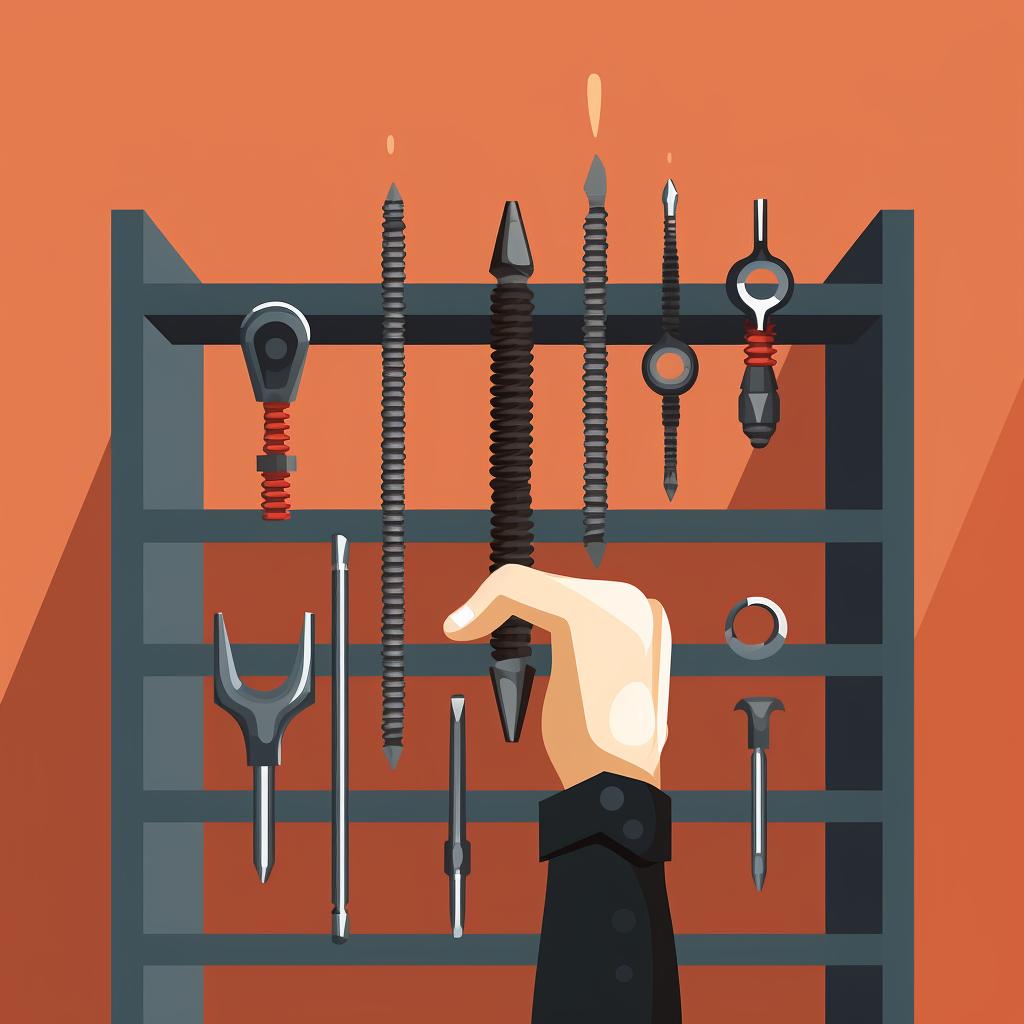
Installing a roof rack on your Tesla is a straightforward process. However, it's essential to have the right tools and materials at hand. The essentials you should keep in your Tesla's glove box include a torque wrench and an Allen key, both of which you'll need for this installation. Remember, the key to a successful installation is following the steps carefully and not rushing the process.
Wondering why roof racks are popular among Tesla owners? Check out our FAQ on roof racks to discover the benefits they offer. From increased storage space to improved functionality, there are numerous reasons why Tesla owners choose to install roof racks on their vehicles.
Once you've successfully installed your roof rack, you're ready to embark on your next adventure. Whether you're a seasoned Tesla driver or a beginner, our beginner's guide to driving a Tesla is packed with useful tips to enhance your driving experience. Remember, your Tesla is more than just a vehicle; it's your ticket to a world of exciting possibilities.
At Play Tesla, we're committed to helping you make the most of your Tesla experience. From simple how-to guides to in-depth articles, we've got everything you need to optimize your Tesla ownership. So, buckle up and enjoy the ride!
All Rights Reserved © 2025