🔒 Locking Your Tesla with the Key Card: A Step-by-Step Guide
Locking Your Tesla with the Key Card: A Step-by-Step Guide
If you're a proud Tesla owner, you already know that the key card is an essential tool for locking and unlocking your vehicle. In this step-by-step guide, we'll walk you through the simple process of locking your Tesla using the key card.
Step 1: Locate Your Key Card
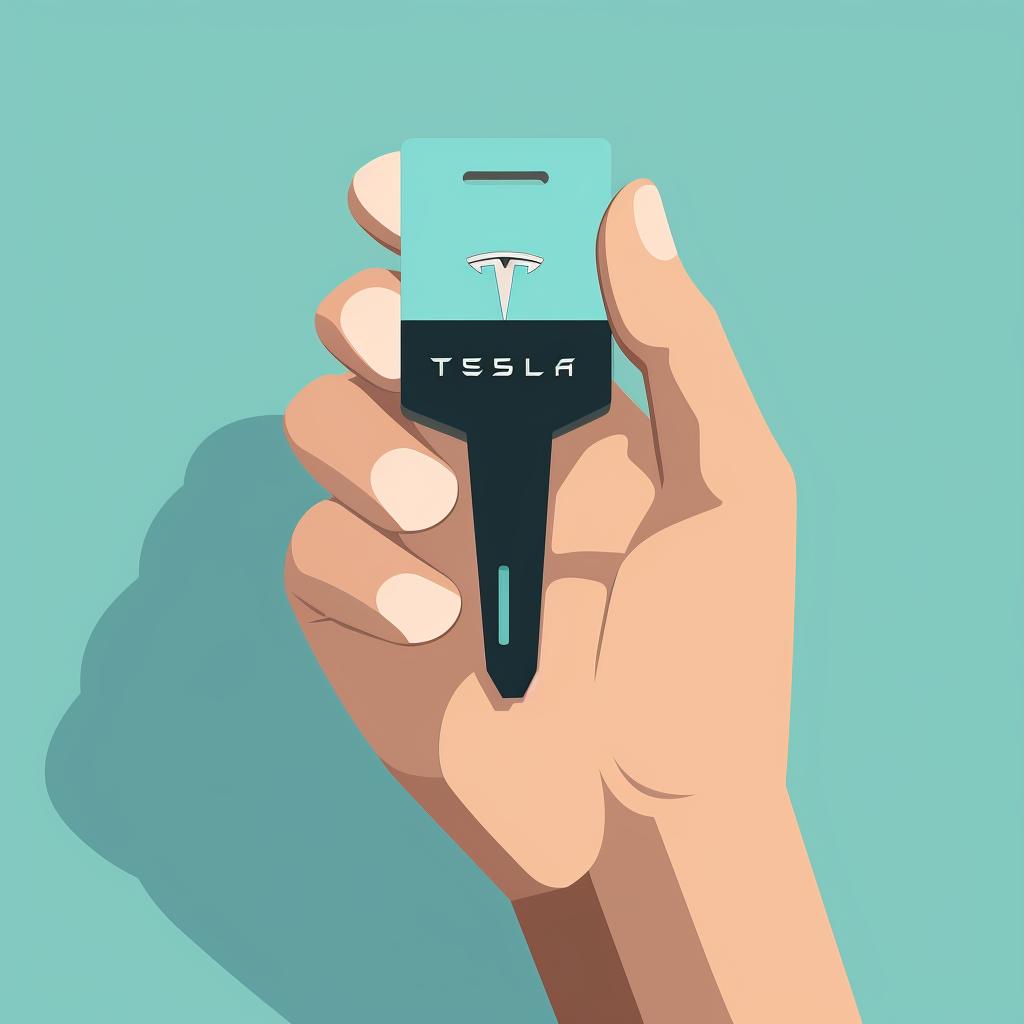
First things first, make sure you have your Tesla key card with you. It's a sleek black card adorned with the iconic Tesla logo. Without it, you won't be able to lock or unlock your vehicle.
Step 2: Approach Your Tesla
Once you have your key card in hand, approach your Tesla vehicle. Ensure that all doors and the trunk are closed. Your car should be in a state where it's ready to be locked.
Step 3: Place the Key Card on the Reader
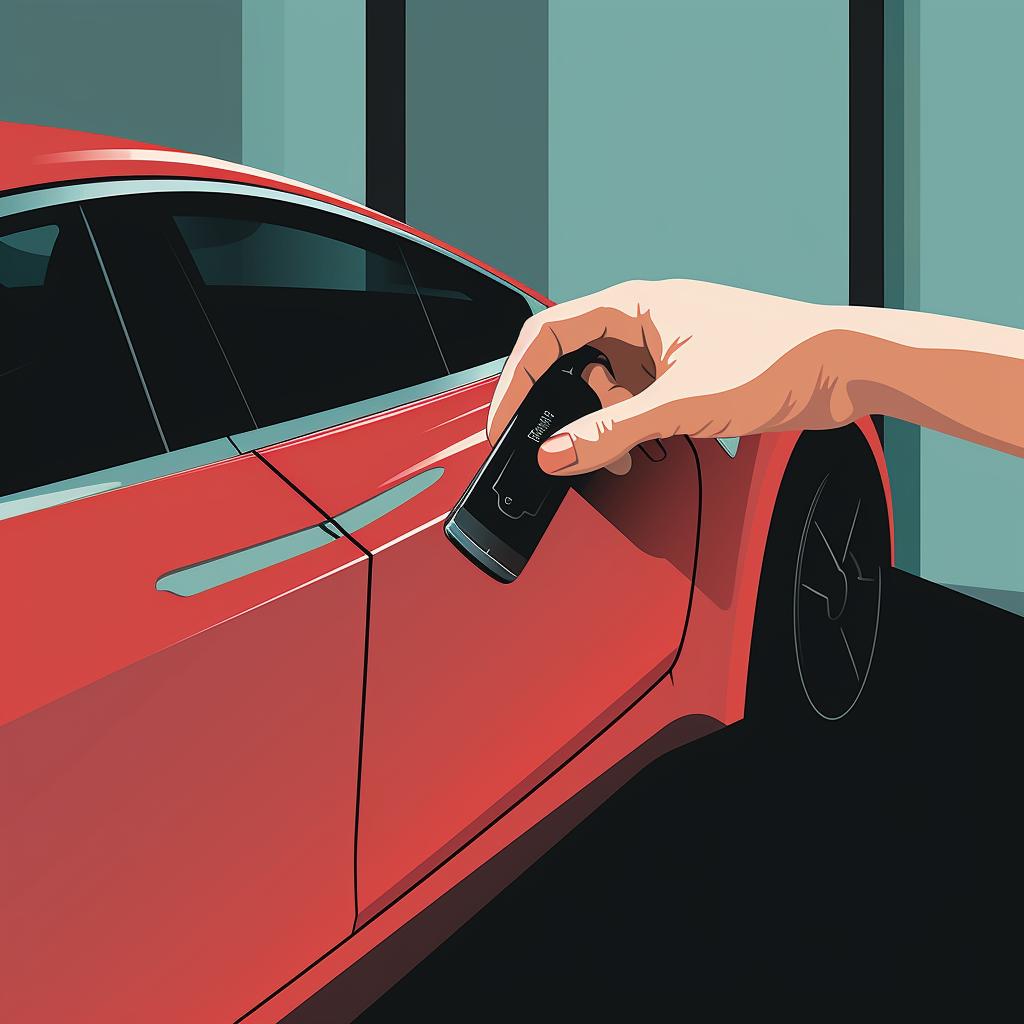
Now, it's time to use the key card. Locate the B-pillar, which is the vertical support behind the front door on the driver's side of the car. This pillar houses a built-in card reader. Place your key card against the B-pillar, making sure it comes into contact with the reader.
Step 4: Wait for Confirmation
After placing the key card on the reader, give it a moment. Your Tesla will recognize the card and initiate the locking process. As a visual confirmation, the car will flash its lights, indicating that it has successfully locked.
And that's it! You've successfully locked your Tesla using the key card. It's a simple and convenient way to secure your vehicle when you're on the go.
Remember, the key card is just one of the many features that make owning a Tesla a unique and enjoyable experience. If you want to learn more about maximizing your Tesla ownership, be sure to check out Play Tesla. We're your ultimate guide to understanding and optimizing your Tesla experience. From operating and maintaining your Tesla to installing a Tesla wall charger, we've got you covered.
So, whether you're a new Tesla owner or a seasoned enthusiast, Play Tesla is here to help you make the most out of your Tesla journey. Stay tuned for more informative and engaging content that will elevate your Tesla experience to new heights.
Unlock the full potential of your Tesla with Play Tesla. Start exploring today!


