
Gen 4 features and NACS compatibility
The Gen 4 Universal Wall Connector works with any electric vehicle using the North American Charging Standard (NACS). Unlike earlier models that required adapters for non-Tesla cars, this unit handles both natively. It is a practical choice if you own a Tesla now but might buy a different brand later.
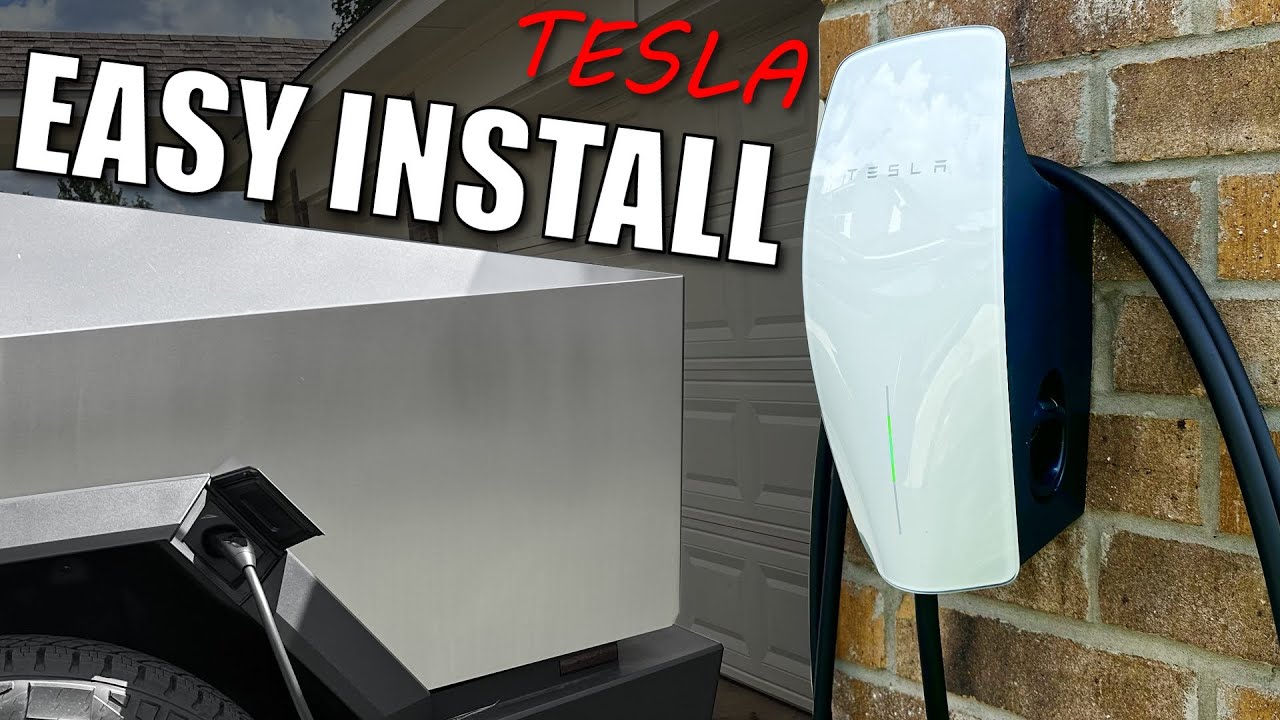
The most noticeable change is the inclusion of the NACS connector, alongside the existing Tesla connector. This means you can charge any EV with an adapter, or natively if the vehicle also adopts NACS. Beyond the connector itself, Tesla has refined the design for easier installation and improved durability. It’s a sleek unit, and the internal components have been updated for more efficient power delivery.
Upgrading to the Gen 4 is a smart move, even if you already have a Wall Connector. The universal compatibility adds value, and the improved design offers peace of mind. It’s an investment in your current EV and any future electric vehicles you might own. Think of it as setting yourself up for the evolving world of electric cars.
Required tools and hardware
You will need a mix of standard hand tools and specific electrical gear to get the job done safely.
Here’s a breakdown of what you’ll likely require: a drill with various bits (for different wall types), a screwdriver set, wire strippers/crimpers, a voltage tester, a fish tape (for running wires through walls), and a level. Specific wire gauge is crucial—for a 48 amp circuit, you’ll need 6 AWG copper wire, though local codes may vary. You’ll also need appropriately sized conduit (PVC or metal) to protect the wiring, and conduit fittings.
Don’t forget the electrical components: a 48 amp double-pole circuit breaker (verify compatibility with your panel), wire connectors, and electrical tape. Safety gear is paramount: safety glasses, work gloves, and potentially a respirator if you’re drilling into certain wall materials. And importantly, check your local electrical codes and obtain any necessary permits before beginning work. Ignoring these regulations can lead to fines and safety hazards.
- 6 AWG Copper Wire
- 60 amp double-pole circuit breaker
- PVC or Metal Conduit & Fittings
- Wire Strippers/Crimpers
- Voltage Tester
- Drill & Bits
- Screwdriver Set
- Safety Glasses
- Work Gloves
Electrical Panel Assessment
Check your main breaker first. The Gen 4 pulls 48 amps, which requires a 60-amp breaker. If your home has a 100-amp service and you run an electric oven and AC, you might not have enough overhead.
Start by identifying your panel’s total amperage rating – typically 100, 150, or 200 amps. Then, calculate the existing load on the panel by adding up the amperage of all the circuits. If you're close to your panel's maximum capacity, installing a 48 amp charger isn't a good idea without an upgrade. You might need to install a subpanel dedicated to EV charging.
Look for a free breaker slot. If you have one, great! But ensure it’s a double-pole slot, as the Wall Connector requires 240 volts. If there are no free slots, you'll need to either replace an existing breaker with a higher amperage one (not recommended without professional assessment) or install a subpanel. Working with electricity is dangerous. If you are at all unsure about any of this, consult a qualified electrician. Seriously, don't risk it.
Consider future electrical needs too. Are you planning on adding other high-draw appliances? Account for that now to avoid future headaches. A panel upgrade can be costly, but it's far less expensive than dealing with the consequences of an overloaded system.
Wiring and Conduit Run
Once you’ve confirmed your panel can handle the load, it’s time to run the wiring. This involves running a 6 AWG copper wire (or the gauge specified by your local codes) from the electrical panel to the Wall Connector’s mounting location. The wire must be protected within conduit – PVC or metal, depending on your preference and local regulations.
Start by drilling holes for the conduit run. Plan the route carefully to minimize bends and avoid obstructions. Secure the conduit properly to walls and ceilings using appropriate clamps. When pulling the wire through the conduit, use a fish tape to avoid damaging the insulation. Proper grounding is absolutely essential; ensure the ground wire is securely connected at both the panel and the Wall Connector.
Outdoor installations require extra care. Use weatherproof conduit and fittings to protect the wiring from the elements. Bury the conduit at the proper depth (check local codes) and mark its location to prevent accidental damage. Consider running the wire through a dedicated underground conduit for maximum protection. A step-by-step guide for a typical garage installation would involve: 1) Shutting off power to the breaker. 2) Drilling holes for conduit. 3) Running conduit. 4) Pulling wire. 5) Securing conduit.
Common challenges include navigating walls and floors. You may need to use flexible conduit in tight spaces. If you’re running wire through unfinished basements or crawl spaces, ensure it’s adequately supported and protected from damage. Always double-check your work before proceeding to the next step.
Mounting the Wall Connector
With the wiring in place, you can now mount the Wall Connector. Tesla recommends installing the Wall Connector no more than 48 inches high, according to a YouTube video from Figuring It Out (uploaded November 20, 2025). This height makes it easy to access the connector and cable. However, adjust this based on your personal preference and vehicle’s charging port location.
Consider the wall type. Drywall requires different mounting hardware than concrete or brick. Use appropriate anchors and screws to ensure a secure mount. The Wall Connector is surprisingly heavy, so a solid mount is crucial. Use a level to ensure the unit is perfectly straight.
If you encounter mounting issues, double-check the wall structure. You may need to locate studs or use specialized anchors for a secure hold. If the wall is uneven, you might need to use shims to create a flat mounting surface. A wobbly Wall Connector is a safety hazard and can damage the unit.
App setup and configuration
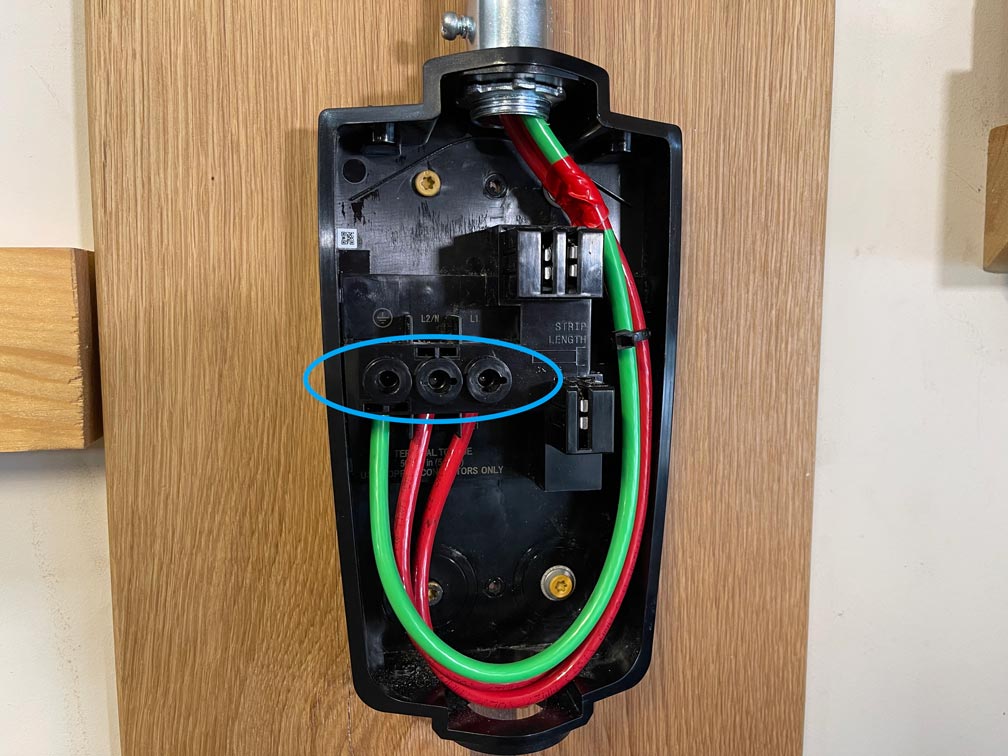
Now for the electrical connection. Carefully connect the wires to the terminals inside the Wall Connector, matching the colors correctly (black to black, red to red, white to neutral, green/bare to ground). Double-check your connections before proceeding. Once the wiring is secure, you can close up the unit.
The configuration process is done through the Tesla app. Open the app and tap 'Begin' on the install page, then scan the QR code from the QuickStart guide or the back of the Wall Connector (Tesla Support documentation). The app will guide you through connecting the Wall Connector to your home WiFi network and registering it to your account.
You’ll have several settings to customize, including the maximum charging current (adjust this based on your panel’s capacity and your vehicle’s charging capabilities) and the ability to enable or disable hosted access, which allows others to use your charger. Refer to the Tesla app and Tesla support documentation for the most up-to-date instructions and available settings.
Testing and Safety Checks
Before you start charging your EV, thorough testing is essential. Turn on the breaker and verify that the Wall Connector powers on. Use a voltage tester to confirm that the correct voltage is present at the connector. Then, connect your EV and initiate a charge session. Monitor the charging process closely to ensure everything is working correctly.
Here’s a checklist of safety checks: 1) Verify all wiring connections are secure. 2) Ensure the conduit is properly grounded. 3) Confirm the breaker is the correct size and type. 4) Check for any signs of overheating or electrical arcing. 5) Test the GFCI (Ground Fault Circuit Interrupter) protection if applicable.
If you encounter any issues – tripped breakers, error messages, or unusual noises – immediately disconnect the power and consult a qualified electrician. Safety should always be your top priority. Don’t attempt to troubleshoot electrical problems yourself if you’re not comfortable and qualified.

No comments yet. Be the first to share your thoughts!