
Getting comfortable with the screen
Think of the Tesla touchscreen as the car’s dashboard, but without the clutter. There are no physical buttons for windows, wipers, or climate control. Instead, your primary interface is a single, large display that sits in the center of the dash. Learning to "play" with the car starts with understanding this layout.
When you start the vehicle, the screen lights up with the main menu. On the left side, you will see the driving controls. This is where you select Drive, Reverse, or Park. It is always visible, even while you are driving, so you can keep your eyes on the road.
On the right side, you find the climate controls and media settings. You can adjust the temperature, fan speed, and seat heaters with simple taps or swipes. Below these sections is the vehicle status area, showing your battery level, range, and charging port status.
The screen is responsive, but it requires a deliberate touch. Unlike a smartphone, you need to press firmly to register a command. This prevents accidental inputs while driving. Take a moment to explore the different menus. Tap on the car icon at the bottom to access locking, trunk, and charging settings.
As you drive, you will notice that the screen adapts to your speed. At higher speeds, some controls dim or move to a secondary menu to reduce distraction. This is a safety feature, not a glitch. Keep your interactions simple and purposeful.
Parking and powering down your Tesla
Shutting down your Tesla correctly ensures the vehicle secures itself, locks properly, and conserves battery for your next drive. Unlike traditional cars, there is no key to remove; the car relies on your phone or watch as the digital key. Following the right sequence prevents accidental locking of keys inside or leaving accessories running unnecessarily.
If you need to leave the car running for climate control or other features without being inside, use the "Keep Climate On" feature from the screen before exiting. This prevents the car from entering full sleep mode and draining the battery faster than intended. Always double-check that your phone is with you before the mirrors fold in.
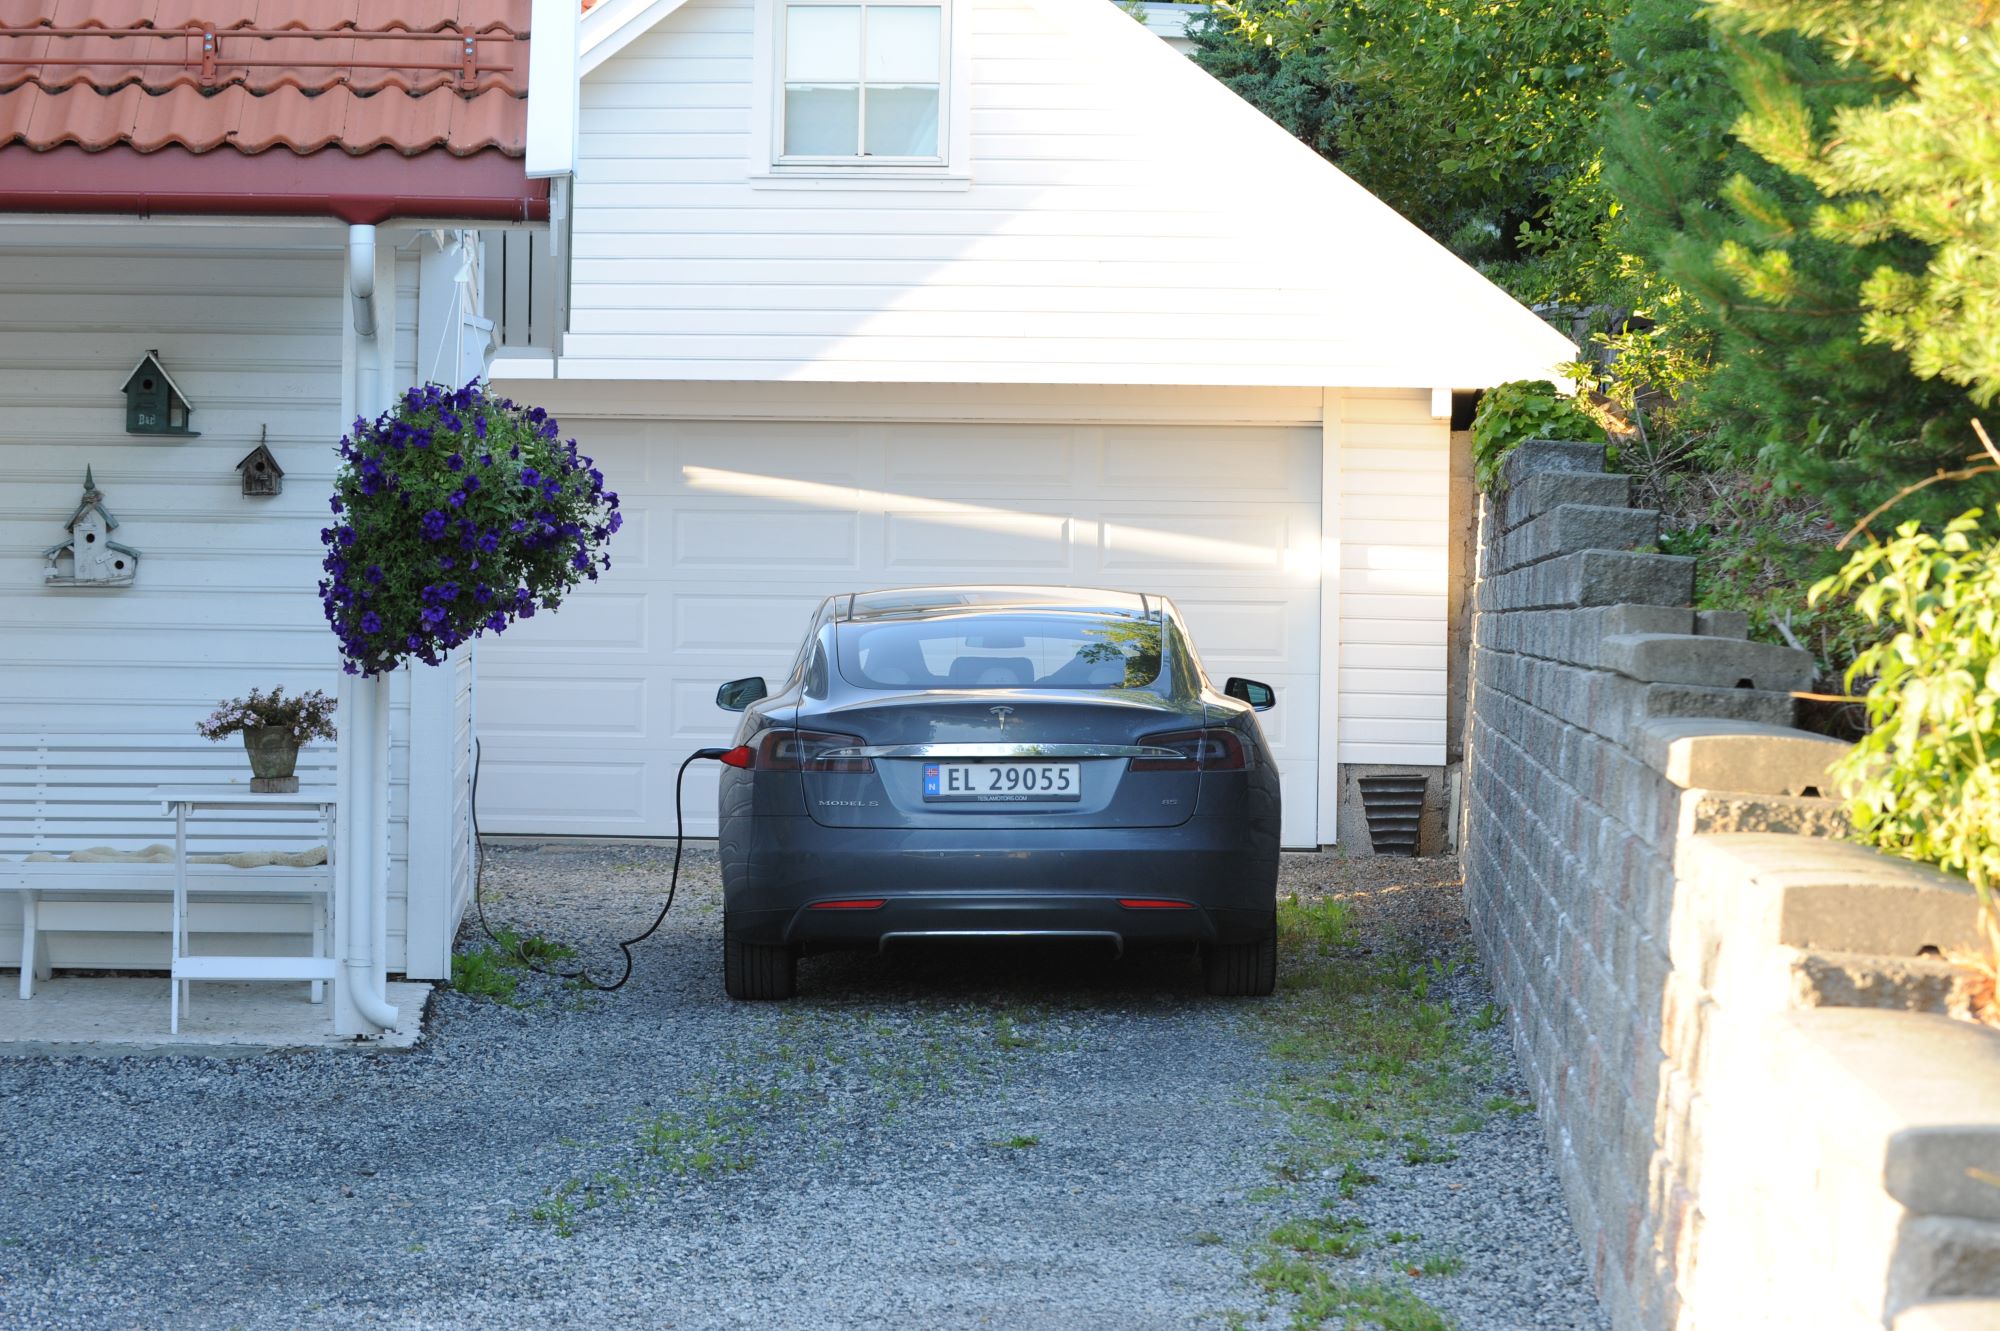
Understanding the charging port
Locating the charge port is the first step in refueling your Tesla. On most models, the port sits on the rear driver-side quarter panel. To open it, press the area gently; the door will pop out slightly. You can also open the port from the touchscreen by tapping Charge > Port Open, or by using the physical charge port button located on the left side of the trunk lid.
Once open, you will see the connector socket. Tesla vehicles use the North American Charging Standard (NACS) port, which handles both AC and DC charging. This single port simplifies the process, eliminating the need to remember different connector types for different power sources.
Home charging (AC)
For daily driving, you will likely use alternating current (AC) charging at home. This involves plugging a mobile connector or a wall-mounted charger into the port. AC charging is slower but sufficient for overnight refueling. The car manages the power intake automatically, converting AC to DC to store in the battery. Always ensure the connector is fully seated until you hear a click before starting the charge session.
Supercharging (DC)
For long trips, you will use direct current (DC) superchargers. These stations deliver high-power charging directly to the battery, bypassing the onboard converter for much faster speeds. Simply plug the heavy-duty connector into the port. The car communicates with the station to negotiate power levels. You do not need to manually select charging speeds; the vehicle and station handle the handshake automatically. Once plugged in, the charge port door locks securely to prevent theft or accidental disconnection.
Install a home wall charger
Charging your Tesla at home is like having a personal gas station in your driveway. It removes the need to plan around public stations and ensures you wake up to a full battery every morning. While the car comes with a mobile connector for basic charging, installing a dedicated Level 2 wall charger is the best way to get the most out of electric driving. This setup requires professional installation, but the process is straightforward if you follow these steps.
Common mistakes to avoid
New Tesla owners often treat the car like a traditional internal combustion engine vehicle, leading to unnecessary wear and battery drain. These errors usually stem from unfamiliarity with the software-first interface rather than mechanical ignorance. Avoiding these pitfalls ensures your vehicle remains in top condition and your daily routine stays smooth.
Frequently asked: what to check next
New drivers often have specific concerns when getting started with their first Tesla. Here are answers to the most common questions about charging, safety, and daily use.
No comments yet. Be the first to share your thoughts!