
Why proper shutdown matters
Leaving your Tesla in an incorrect sleep state causes "vampire drain," where background processes keep the high-voltage battery active. This can deplete the 12-volt battery, preventing you from unlocking the car or starting a charging session. Properly shutting down ensures the vehicle enters a low-power state, preserving energy and ensuring system stability before you connect to a wall charger.
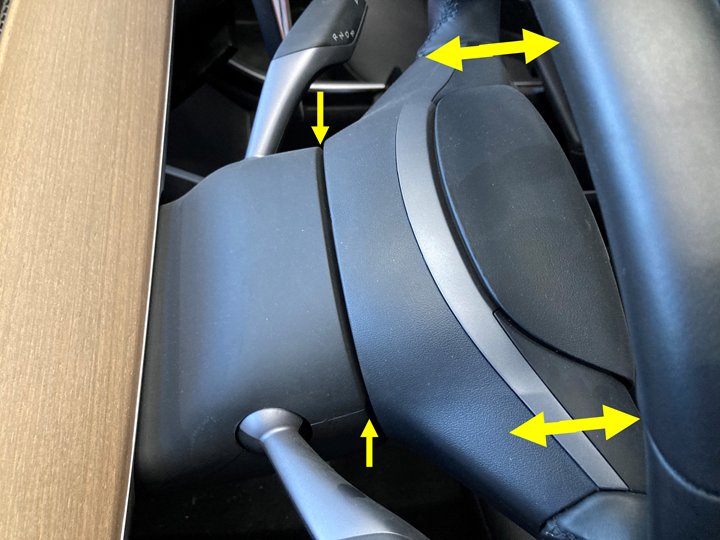
How to turn off Tesla correctly
Locking the doors only engages the security system; the touchscreen and background systems remain active. To force a deep sleep state, you must manually power off the infotainment system. This clears active tasks and drops power consumption, preventing software updates or background checks from interrupting your charging session.


As an Amazon Associate, we may earn from qualifying purchases.
Maximize Tesla usage with sleep mode
Understanding the difference between 'Power Off' and 'Sleep Mode' is essential for Play Tesla enthusiasts. When you lock your car, it stays in a low-power standby state, keeping features like Sentry Mode and remote app connectivity active. This convenience draws energy from the 12V and traction batteries. Sleep Mode is the deep-rest state where the car minimizes all background processes, cutting connections to the app and disabling most sensors.
Configure settings for efficient sleep
To ensure your Tesla enters Sleep Mode efficiently, adjust these settings to reduce background tasks:
| Feature | Power Off | Sleep Mode | Standby (Locked) |
|---|---|---|---|
| Battery Drain | Minimal | Very Low | Low to Moderate |
| App Connectivity | None | None | Active |
| Sentry Mode | Disabled | Disabled | Active |
| HVAC Control | Disabled | Disabled | Active if configured |
| Best Use Case | Storage > 30 days | Storage > 1 week | Daily parking |
When to use each mode
Use Standby mode for daily parking to check status and keep Sentry Mode active. Use Sleep Mode for parking lasting several days or weeks to prevent 12V battery depletion. Power Off is rarely needed for modern Teslas, as Sleep Mode achieves similar battery retention without manual intervention.
How to Install a Tesla Wall Charger
Installing a Level 2 charger transforms your garage into a private charging hub. While the hardware is straightforward, installation involves electrical work that demands professional expertise. This guide walks you through the critical phases, emphasizing safety and the necessity of hiring a licensed electrician.
Before purchasing hardware, an electrician must evaluate your home’s electrical panel. Level 2 chargers typically draw 30–40 amps, which may exceed the capacity of an older or fully loaded panel. If your panel lacks spare space, you may need a service upgrade.
Select a mounting spot on a garage wall or exterior eave close to your parking space. Shorter cable runs reduce voltage drop and installation costs. Ensure the location is protected from direct weather exposure if mounted outdoors.
Do not attempt to wire a Level 2 charger yourself. Hire a licensed electrician familiar with Tesla Wall Connector installations and local codes. They will ensure proper grounding, conduit routing, and circuit breaker sizing.
The electrician will mount the bracket, run conduit, and wire the Tesla Wall Connector. They will also install a dedicated circuit breaker. Once mounted, the unit is secured, and all connections are tightened to manufacturer specifications.
After installation, test the charger to ensure it communicates correctly with your vehicle. Verify that the Play Tesla app syncs charging status and energy usage data. Confirm the charger activates when you plug in your car.
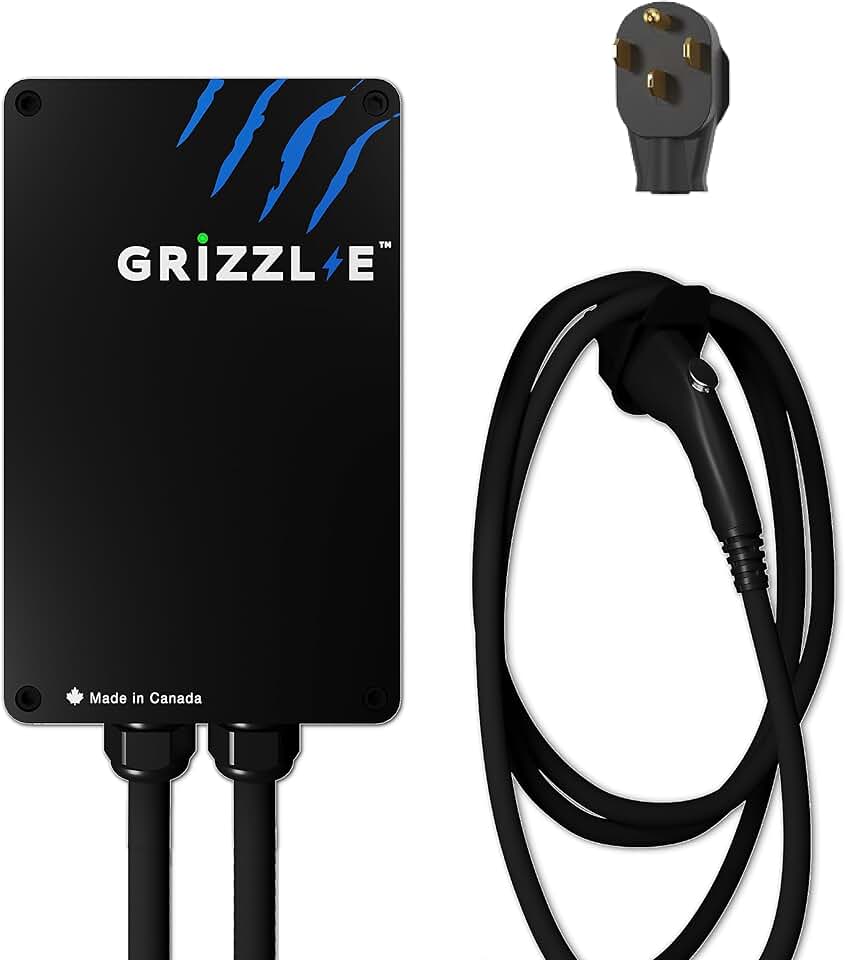
Best chargers for home use
Choosing the right charging station is the final step in your Play Tesla setup. A dedicated Level 2 charger delivers significantly faster charging than a standard household outlet, turning an overnight wait into a quick top-up. Most home chargers offer between 32 and 48 amps, adding roughly 25 to 40 miles of range per hour. For daily drivers, a 32-amp unit is usually sufficient, while larger batteries or frequent long trips might benefit from the extra speed of a 48-amp model.


As an Amazon Associate, we may earn from qualifying purchases.
Ensure your chosen unit is UL-listed and compatible with your vehicle’s J1772 connector. If you opt for a third-party charger, verify it supports the specific firmware updates your Tesla requires for optimal battery management.
Common charging mistakes to avoid
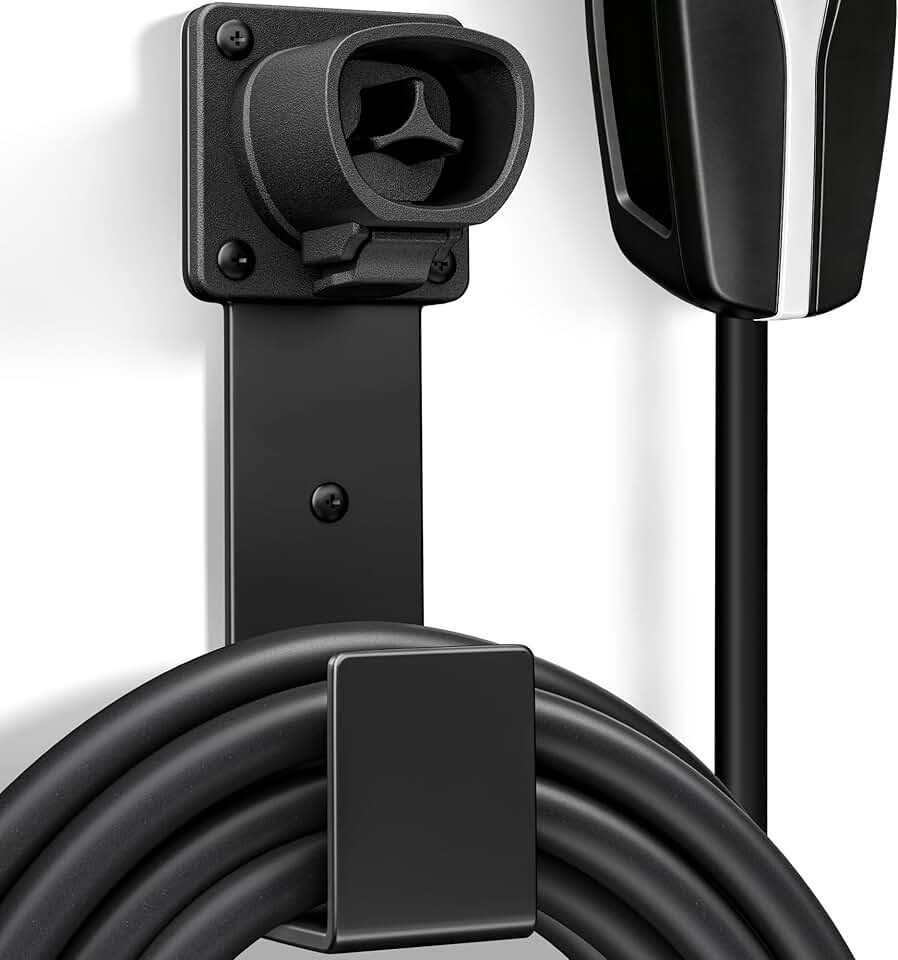
Even with a Play Tesla wall charger, daily habits can degrade your battery or create safety hazards. The most frequent error is treating a standard 120-volt outlet as a primary charging source. Regular use generates excessive heat and charges slowly, potentially shortening battery life over time.
Cable management is equally critical. Leaving charging cables coiled tightly while warm traps heat, accelerating insulation wear. Always unplug and coil the cable loosely once charging is complete. Additionally, ensure the outlet is grounded and free of moisture to prevent arcing.
Frequently asked: what to check next
How long does it take for a Tesla to fully power off?
When you use the Play Tesla app or key fob to lock the car, it enters sleep mode within a few minutes. However, full power-off, where all systems are completely dormant, can take up to 30 minutes. If you need to disconnect the charger immediately, you can manually stop charging from the screen, but the car may still draw a small amount of power for diagnostics.
Can I use any J1772 charger with my Tesla?
Yes, Tesla vehicles come with a J1772 adapter in the trunk, allowing you to use most Level 2 public chargers. For home installation, a dedicated wall connector is recommended for faster charging speeds and better reliability. Ensure the charger is NEMA-listed and installed by a licensed electrician to meet local code requirements.
Does the Tesla app work when the car is off?
The Tesla app maintains a connection to your vehicle even when it is powered down, allowing you to monitor charge status, pre-condition the cabin, or lock/unlock doors. This connectivity relies on the car’s cellular module, which remains active unless the vehicle is in deep sleep mode with no cellular signal.
No comments yet. Be the first to share your thoughts!